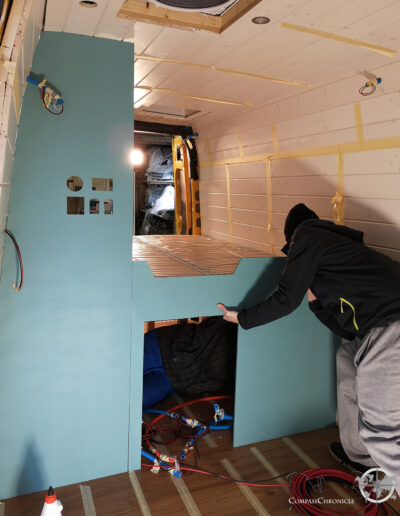
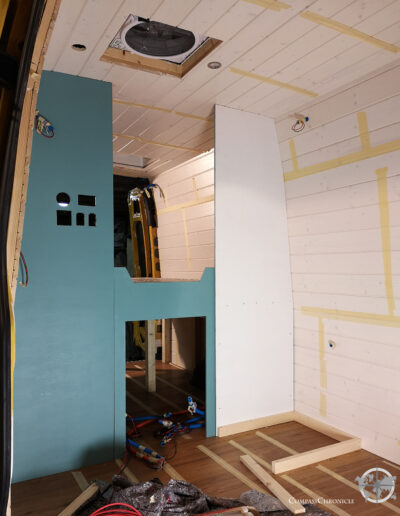
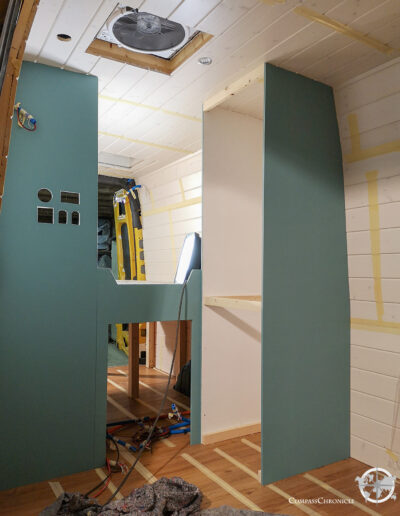
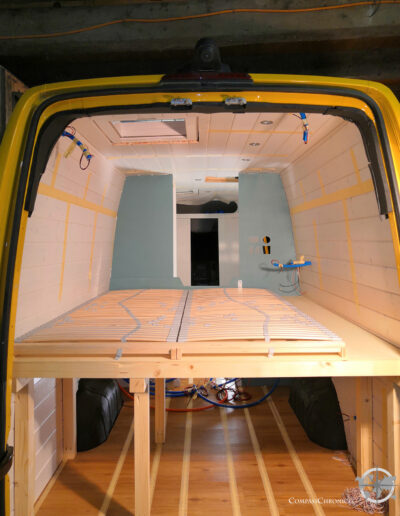
We want to figuratively convert our van into a 2-bedroom apartment. For us, that means we want to separate the bed a bit from the front of the van with partitions. So, on one side of the passageway to the bed, we’re building in a partition to what will later become the kitchen. On the other side, we use the directly adjacent space for a floor-to-ceiling cabinet with plenty of storage space. This creates an approximately 60cm wide passage to the bed.
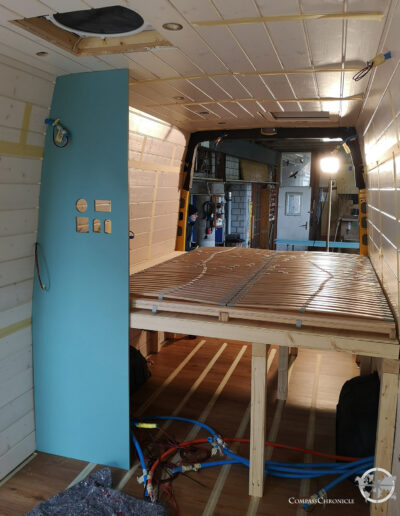
The partition wall
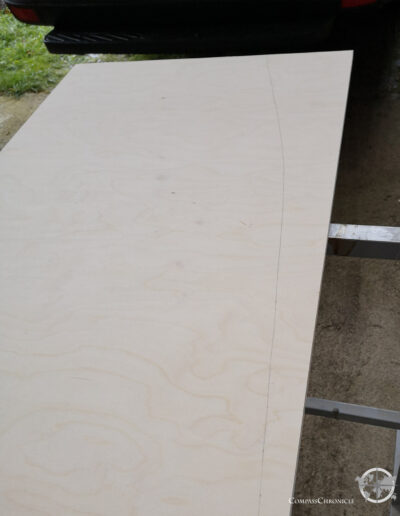
When creating the partition wall, the biggest challenge for us is to accurately adopt the curvature of the side wall. In theory, a box van is a square box with straight side walls. In practice, the sidewalls slope inward at the top, and this slope varies along the entire length of the bus! This means that you can’t simply make a template for all the walls that will later lean towards the outer side walls, no you have to fit each wall individually.
In advance, we ordered rectangular wooden panels for the partition wall, which correspond in height and width to the final dimensions. Now it’s time to adjust the curvature.
Fortunately, we brought time for the project! For the adaptation of the first wall, we certainly need six attempts, again and again fitting, renewed sawing and sanding, until we are finally satisfied with the finished partition wall.
In addition, we still have to plan holes in this wall for the display panels of the technical devices:
- Water level indicator of the fresh water
- Solar charge controller monitoring
- Battery monitor
- Control panel for our 230V inverter
Tip: The earlier in the project the individual components for the power and water circuits as well as for the cooking facilities are fixed, the better the components can be installed directly at the appropriate time. Since we had already fixed these relatively early, we could still cut out the required holes while the partition is laying horizontally and before installation. Otherwise, we would have had to saw the holes in later when the partition wall was already installed. This way it was much easier for us.
The cabinet
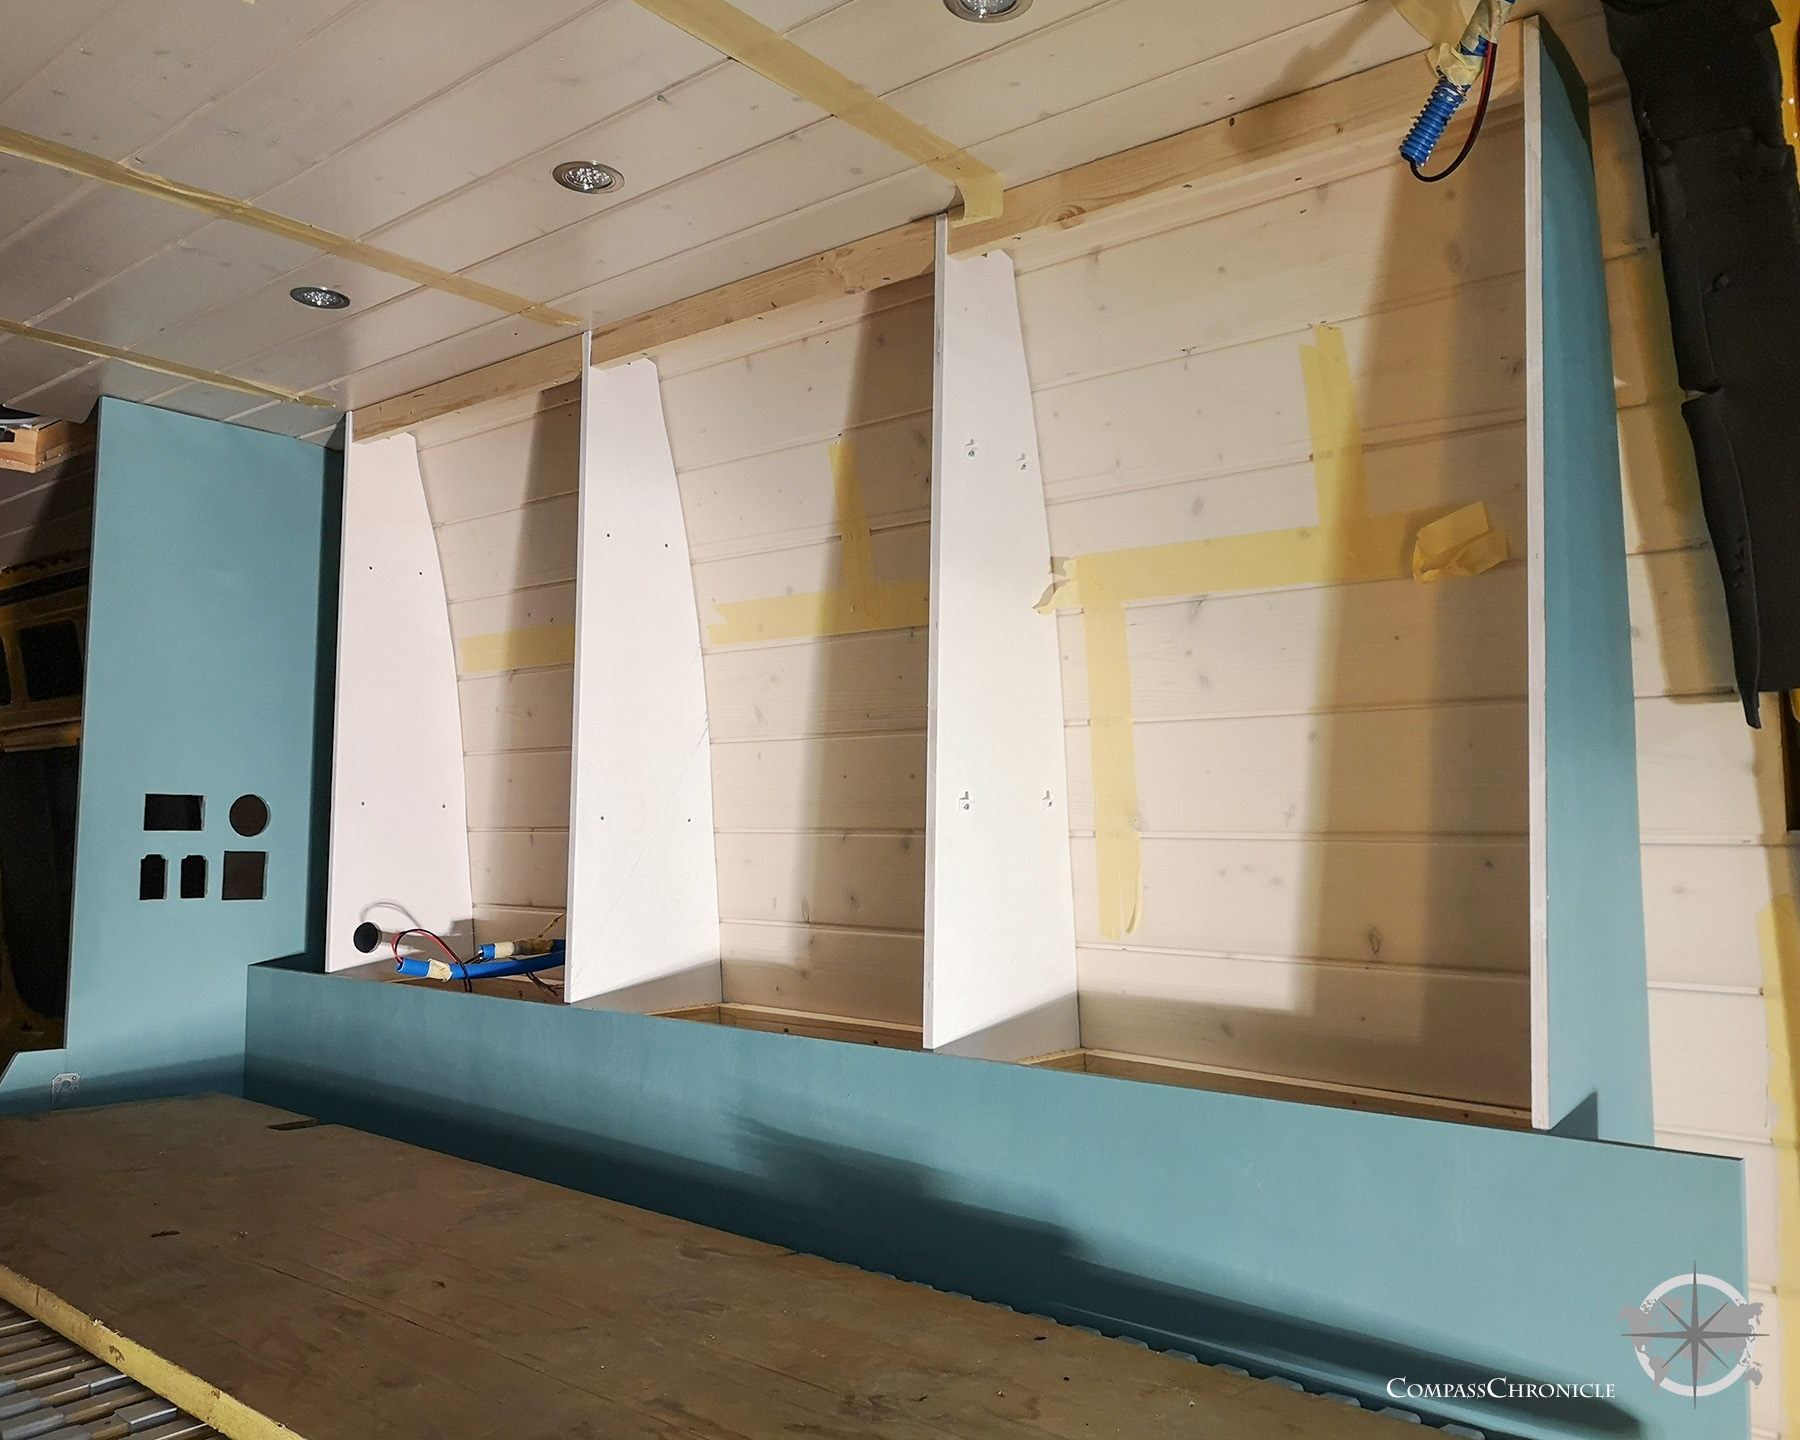
Our large cabinet with lots of storage and room for the refrigerator is quickly done. Again, the most complicated thing is to transfer the curvature of the outer walls to the two side walls of the cabinet and cut them so that they fit perfectly to the outer walls.
The bottom shelf, where the refrigerator will sit, is also supported with a wooden frame. We do the same for the first shelf above the refrigerator and at the very top at the ceiling. With the additional wooden braces, we stiffen the cabinet so that it won’t warp too much when driving on curvy roads filled with our belongings.
The wardrobe
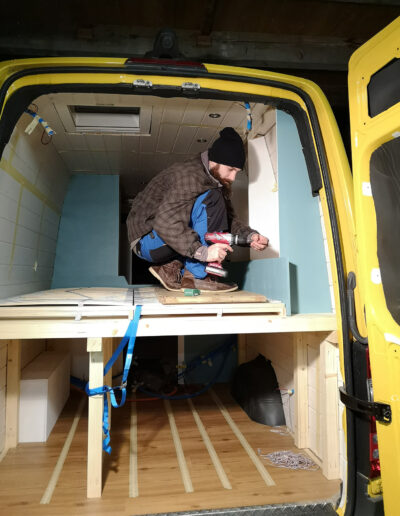
Next to our bed we have a little space for three closets. They are not very deep, but for our everyday clothes the space is ideal. This way, the clothes don’t get in our way and are still always at hand in case we have to adapt to the weather unexpectedly.
As with the large closet in the above section, we leave the door panels off at this stage. However, the cabinet doors are already cut to size in our lumberyard so that we can focus on the final steps of aligning the doors correctly and screwing the hinges into place, rather than still cutting the wood.
By the way, we paint all components BEFORE we assemble them or install them in the bus. It is much easier and much faster to paint the wooden boards lying flat with a paint roller than installed in the bus, where there are many more edges and corners and also much more must be covered and protected from dripping color!
In addition, the paint is at the same time also a protection for the wood, should it get wet. If you paint the boards before installation, this protection is guaranteed all around. If the boards are painted after installation, the wood is unprotected in the places where it meets. During driving, the structures are in constant motion, which means that these unprotected areas are sometimes exposed to moist nevertheless.
Now in the interior construction we see more of our work from construction day to construction day. This encourages us after the long haul, without much visible progress, to keep at our vanconversion and persevere. With the finished bed structure, large cabinet and wardrobe, we can envision the future livability of our van for the first time. There will certainly be some presentable progress on the next build day as well!









0 Comments