The question we have to ask ourselves at the beginning of our van conversion is the following: How can we attach our new interior to the car? Respectively how must our supporting construction (SC) look like?
Choice of material
We have approached the implementation from the end result. We would like to make most of the interior fittings from wood, as we are most confident in working with this material. Metal is out of the question for us, as we can neither calculate the dimensions nor can any of us weld. Plastic processing is also too time-consuming and costly for us and does not seem very practical.
So, the supporting construction must create a connection between the metal body and our later wooden elements (cabinets, etc.). Accordingly, the most obvious choice for us is a supporting construction also made of wood since this will allow us to easily attach the other wooden components (cabinets, etc.) to the supporting construction (SC) with screws.
Connections
For us it is clear from the beginning that we do not want to screw anything directly into the body of the car. Every new screw hurts the paint and is a potential rust risk. Therefore, only two different types of connections come into question for us. Fastening rivet nuts to the body in the existing holes so we can fasten the wood SC with metal screws and washers, or we glue the whole thing with strong construction adhesive.
Our confidence is not very high in an exclusively glued SC at the beginning, so we order a special riveter for rivet nuts including rivet nuts. To fix the rivet nuts, we did not want to make any new holes, but to use the existing holes so as not to weaken the load-bearing structure on the one hand and not to create any attack surfaces for rust on the other. Since we’re not at the van when we order, we’ll lay out the dimensions roughly from memory – a little more on how that fit together, or didn’t, further down in the post.
Construction adhesive
To prevent vibrations, we also want to glue the components and have done intensive research on suitable adhesives. In the process, we came across very strong construction adhesives. Many people have mentioned Sikaflex 252, especially when installing solar panels. This adhesive offers a strong adhesive bond after curing as well as adheres to porous materials such as wood. In addition, this adhesive does not come off even with vibration, which is why we grow to have confidence in this adhesive. We get several cartridges of the Sikaflex 252 and can start building the supporting construction.
Installation of the supporting construction
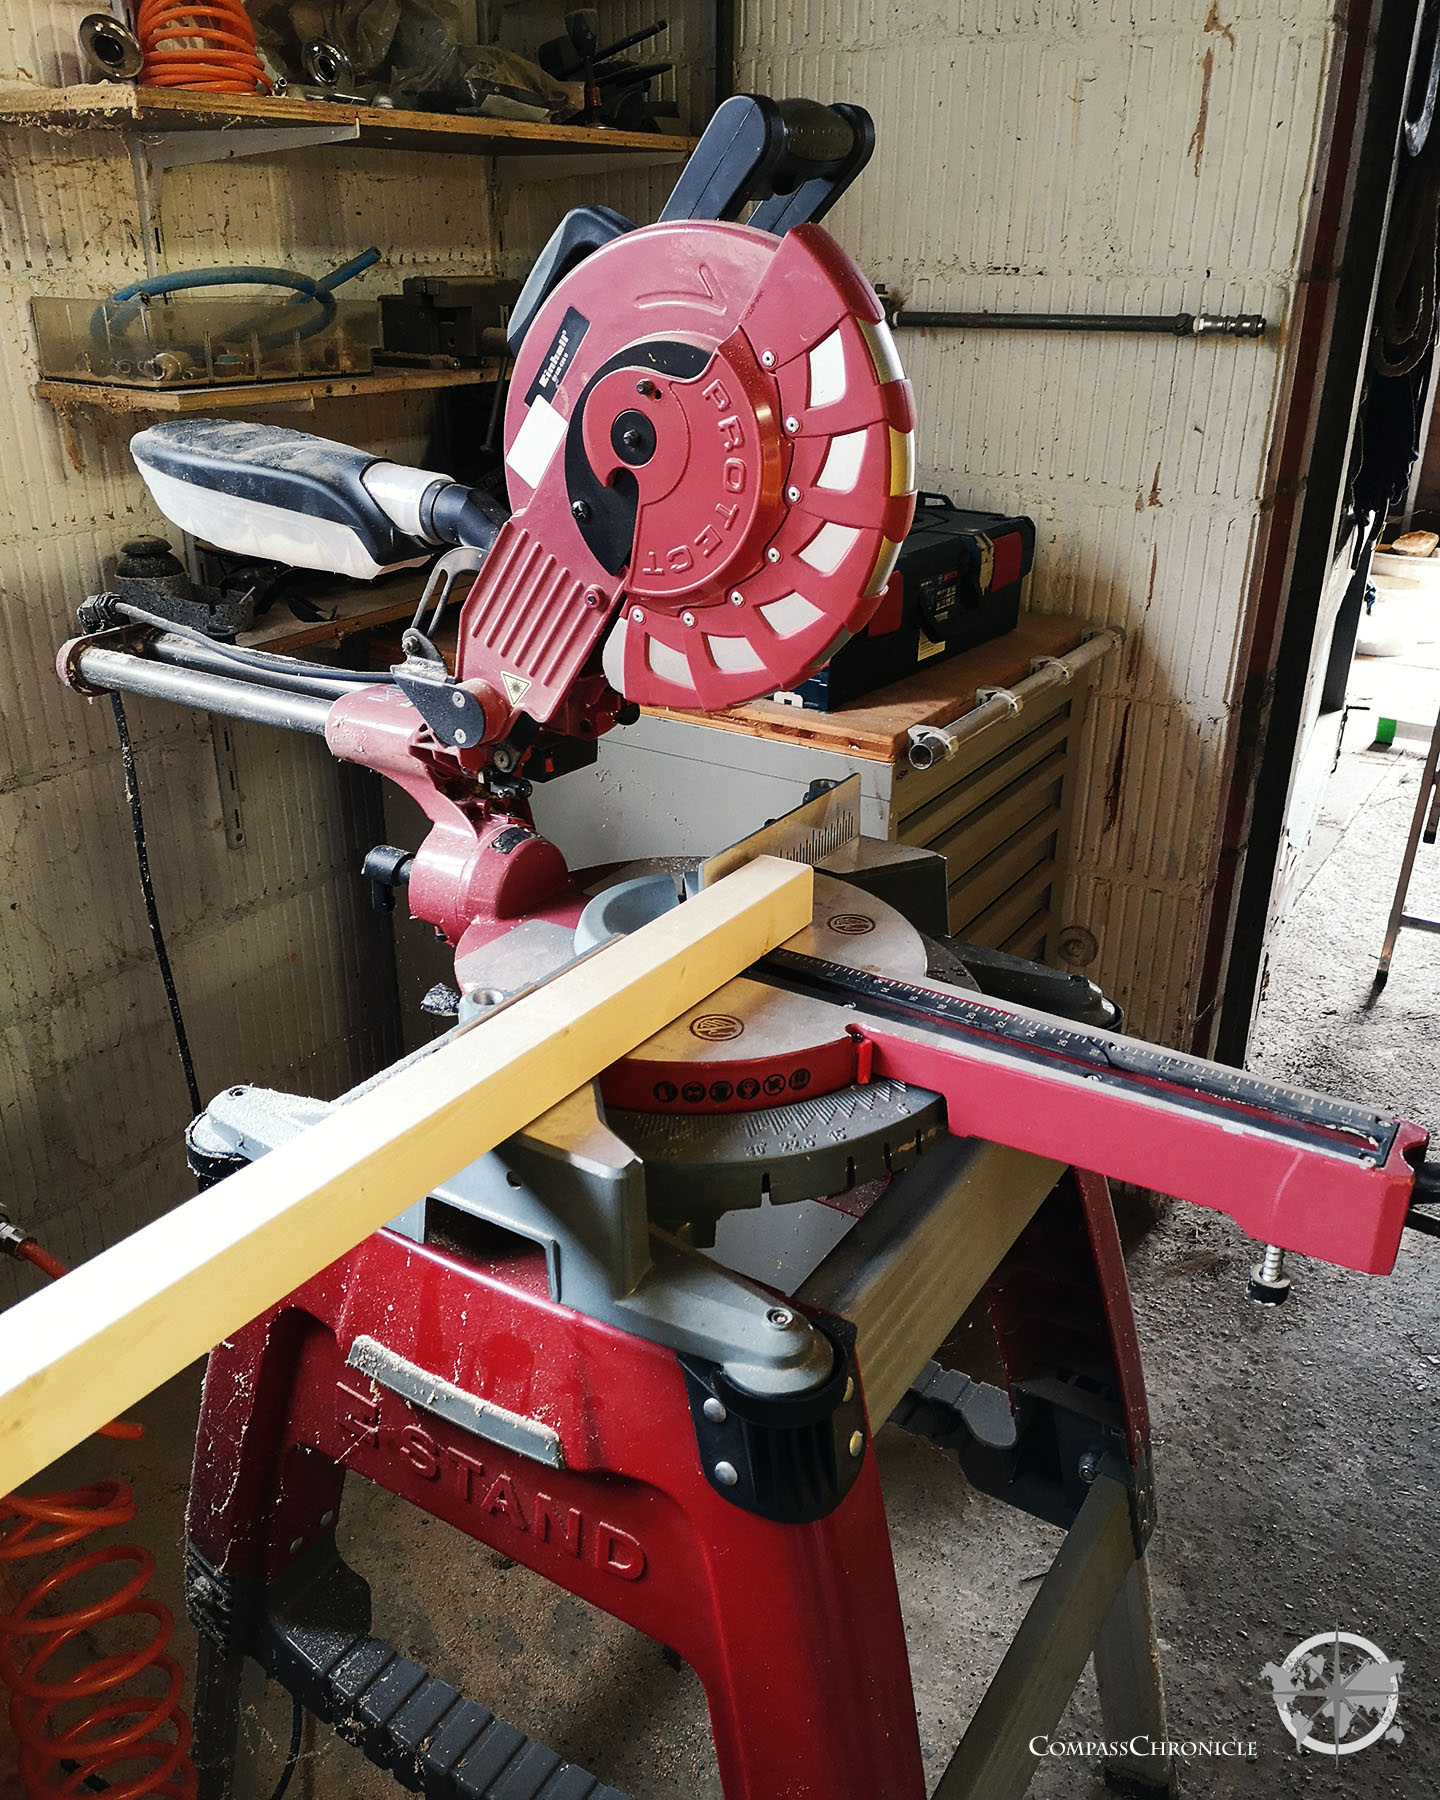
As wood for the supporting construction, we use square timbers of fir / spruce to get a good mix between stability and weight. It should be said that with fir / spruce we are probably on the more stable side and not quite so on the weight-saving side of the spectrum of possibilities.
Besides, it is a relatively inexpensive building material that is available in every hardware store in all possible dimensions.
Where to place parts of the supporting construction is determined by the layout plan in order to obtain sufficient anchoring points for the built-in furniture. We take special care to always use the same dimensions for the same area, so that we could theoretically lay a straight slab over the supporting construction. That makes it easier to continue working.
And here we go; Paddy tries out the riveting tongs with great curiosity. And promptly the approximate assumption when ordering the rivet nuts turned out to be wrong. The holes in the body, which we wanted to use as anchor points are too big. So, the rivet simply slips back through the hole during the riveting process. The rivet is pressed in, but it doesn’t hold. We can forget this half of the anchoring of the SC. What remains is to glue the components together. We make first hesitant attempts at the floor of the van. Here, the holding force is not so decisive, because with the floor and the weight of the subsequent fixtures lying on it, the supporting construction is fixed anyway.
According to the manufacturer, the adhesive must be applied at least 1mm to develop the full adhesive force. We do not skimp on the application and make sure that the adhesive is evenly distributed. We coat the wood-SC parts with the adhesive and then press them into place with the adhesive side. This way we make sure the construction adhesive is in exactly the right place between the wood and the body, and we don’t have to go through the hassle of marking the glue spots first.
Our van floor has a major dent in the rear area – the previous owner must have loaded something pretty darn heavy. We really can’t imagine how this dent got into the floor. No matter, we weigh down the supporting construction with concrete parts and let the glued areas cure (24h!).
Adhesion test of the construction adhesive
The adhesion test is carried out pragmatically: We tug and tear at the first glued wooden parts as much as we can. To our reassured astonishment, our acts of force are transferred very directly to the van; we do not detect any cracks or weak points. Well, the data sheet of Sikaflex 252 also says something about 2t holding force on a surface of 10x10cm – without guarantee! We certainly do not produce perfect bonded joints, but we are convinced of the result. With this, we have found the way for our SC and now we are cutting masses of squared lumber into suitable lengths and gluing them to the body.
Supporting construction on the van headliner
As with the floor and the side walls, we continue with our supporting construction on the van roof. One construction batten is glued, the next one is cut to size and again coated with glue. In the meantime, the first part unfortunately fell down again – shit! The glue seems to hold strongly after curing, but the instant adhesion is limited. We have to come up with something. Fortunately, there are about 20 winches in the shed of Mimi’s parents, where we are allowed to build our van. Surely unusual, but due to lack of alternatives and we don’t want to lose too much time, we gradually put many winches in our van to clamp the SC in the van sky until the glue is dry – see for yourself!
In hindsight…
As you’ve read so far, we’ve always based our SC on the later fixtures and planned the placement of the SC based on that.
That we want to cover both the walls and the ceiling later with wainscoting and the wainscoting also needs a subfloor, we have forgotten somehow. So, if you don’t want to attach several small pieces of subfloor afterwards, as we did, it’s better to take this into account right from the start.
Next step
With the supporting construction in place, we’ll soon move on to the insulation so that the warm or cool air stays in the van longer. We will describe this step in another blogpost.












0 Comments