After some big installations are already done, the next step is the construction and installation of the kitchen. On one hand we build a wall unit and on the other hand we build the kitchen unit with stove, sink, storage space as well as waste disposal. In the next sections we will roughly describe the steps and give a little behind-the-scenes insight into van construction.
Kitchen wall cabinet
The upper cabinet in the kitchen is effectively the only suspended cabinet in our van. All other storage options are either smaller (two shelves are still fixed much like the upper cabinet) or propped up on the floor. And here’s the kicker: We actually just screwed the wall unit to the glued substructure and didn’t do any other anchoring. Accordingly, we will not store the large rice bag with 50kg content, but the wall units later prove to be very robust even with several kilograms of stored goods. Accordingly, we have not built a special substructure for the wall unit except the already known supporting construction with glued wooden slats.
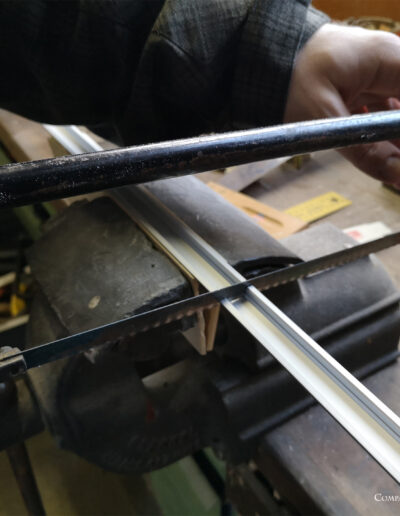
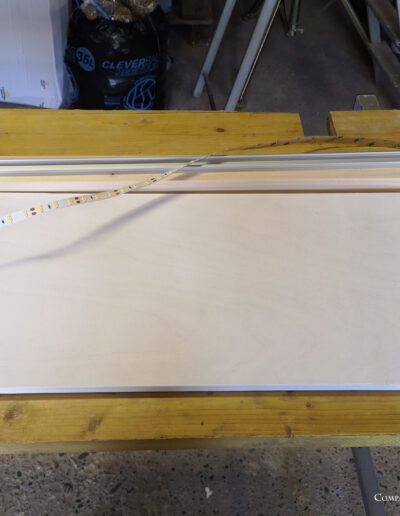
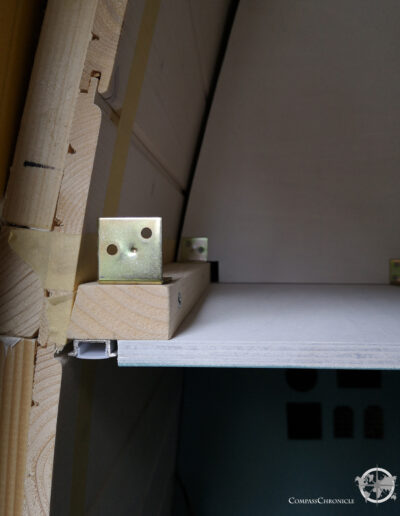
The wall unit itself is quickly screwed together with plywood panels and metal brackets. The special feature of this wall unit is the recessed LED rail, which will later illuminate our work surface on the kitchen counter. The approach we took is to cut the bottom panel of the wall unit shorter than the total depth of the furniture. There is just enough space left for us to mount the LED rail flush with the rear edge of the bottom panel. Inside the wall unit, this leads to the fact that we have a ledge of a wooden slat at the back, because through it we have ensured the distribution of force to the substructure.
Kitchenette, gas and water
In the kitchenette come together a few topics where we are really not very profound: Gas line and gas supply, and water lines and water tank. With water, not much can go wrong, except that everything gets wet. With gas, we are more careful. In addition, if we do the gas installation ourselves, we have to reckon with very fussy inspections. Our decision is as follows: We will do the water ourselves, but the gas installation should be done by a professional. Another advantage of the professional gas installation: The gas tank goes under the car and we don’t have to cut a big ventilation hole in the vehicle floor. In addition, we have no problems with changing the gas bottles and their various connections. We only have to change the tank adapter in order to be able to fill up with liquid gas practically anywhere in the world.
In retrospect, the liquid gas tank (LPG) was definitely worth it. Not only because of the practical aspects listed above, but also because of the reduction in running costs. With a full tank, we can cook every day for three to five months. And a filling costs normally between 20.- and 30.- CHF which is very favorable in comparison to smaller gas bottles and their costs.
Therefore, we can assemble and install the kitchenette and not have to worry about the gas lines and the tank. Water remains as a subject area, but we dedicate a separate blog post to this.
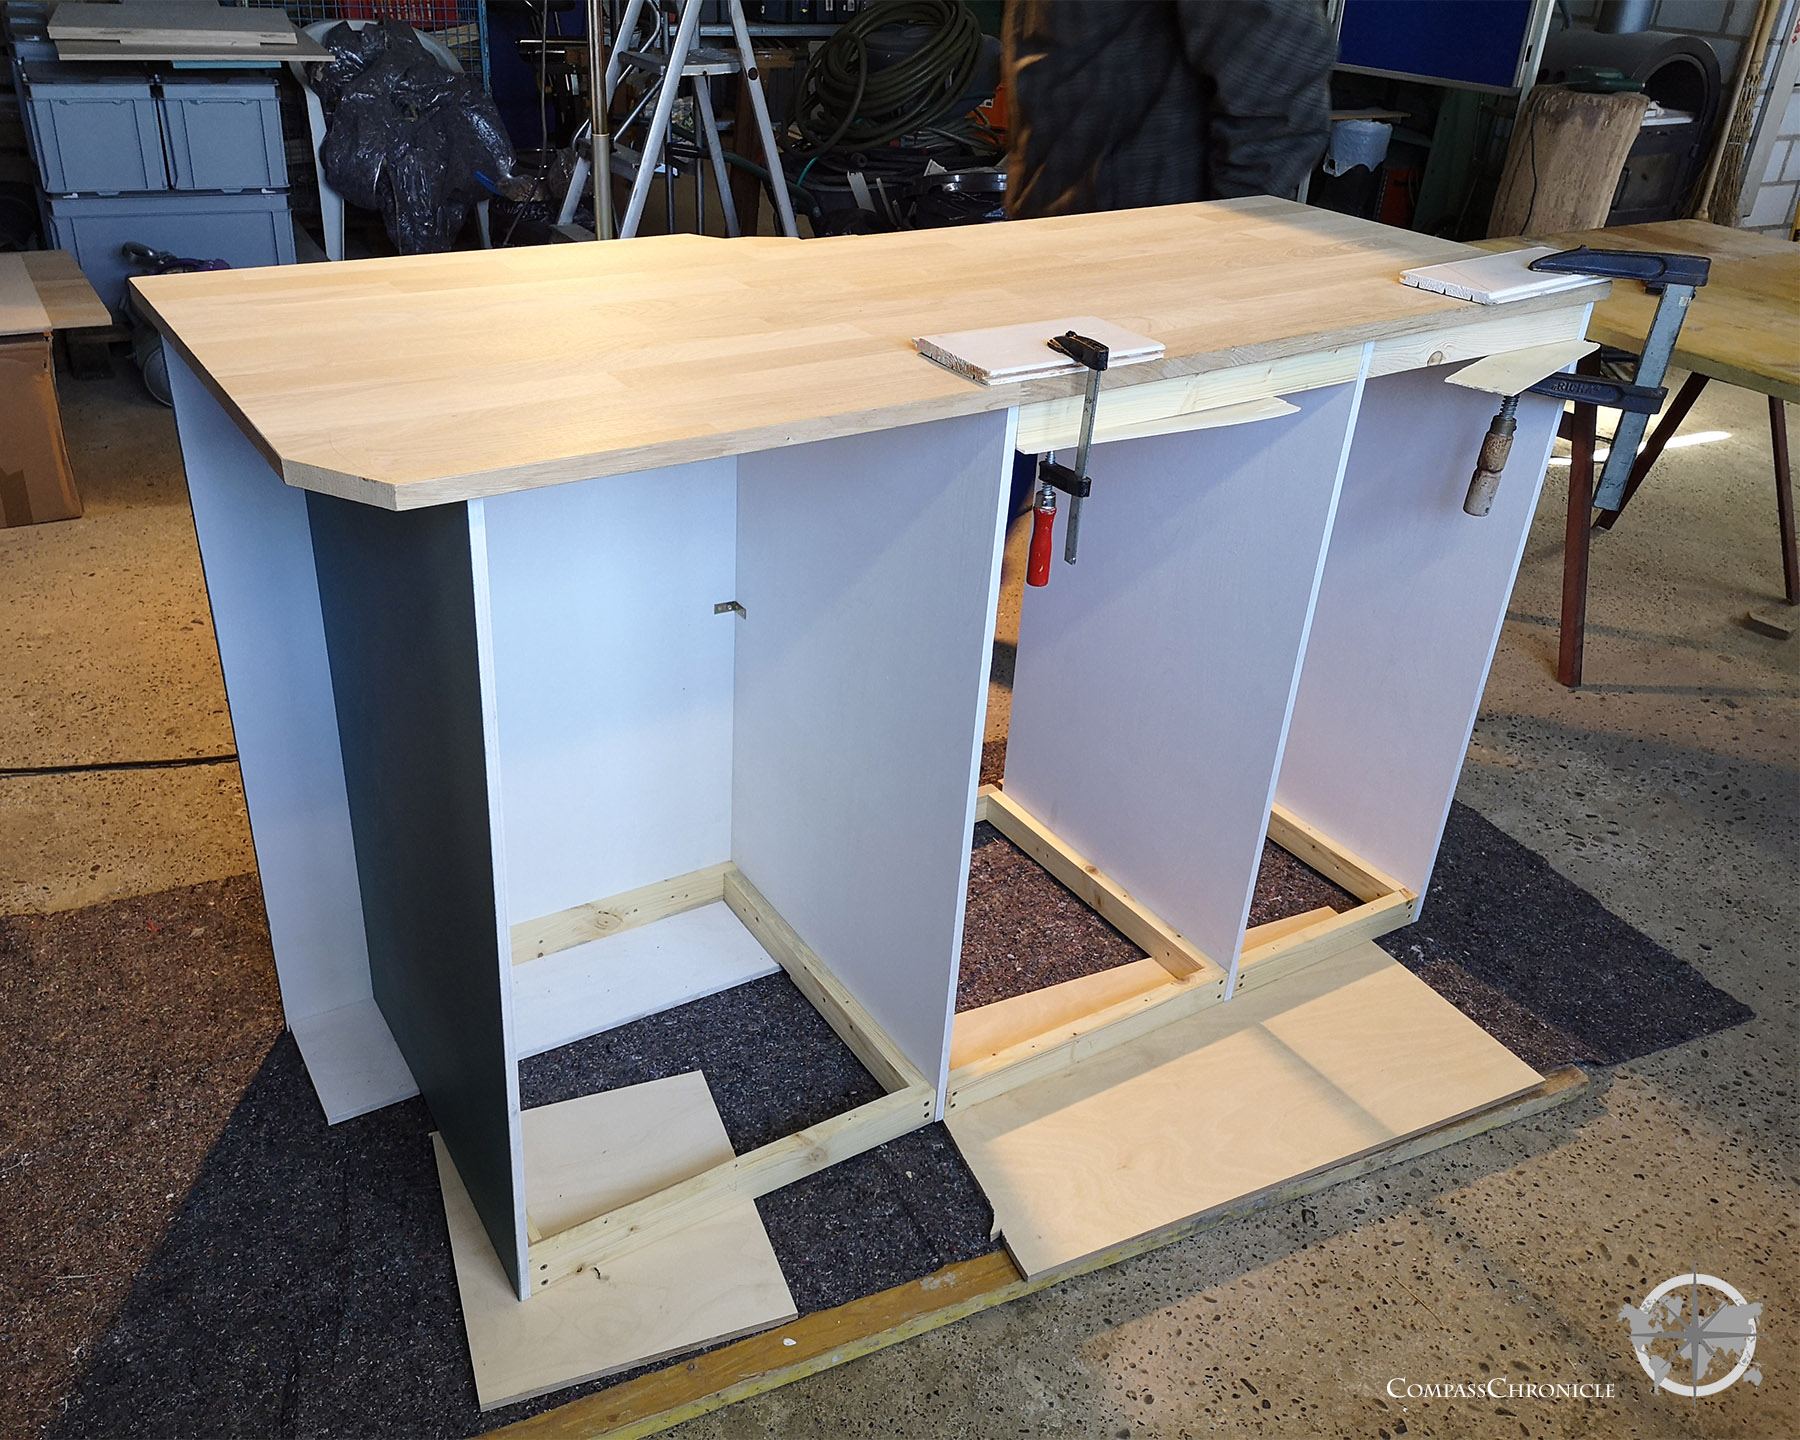
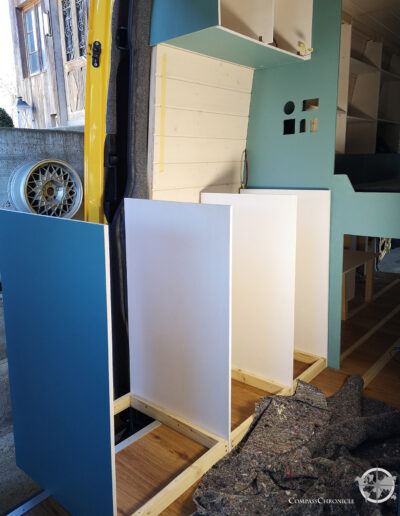
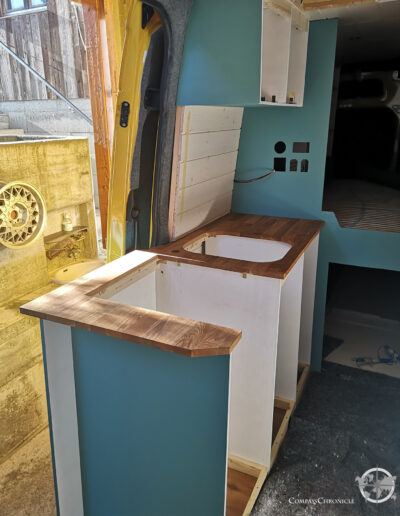
We build the kitchen unit itself again very simple from cut plywood, metal angles and wooden frames. It’s really funny to see that the kitchenette can be built as a whole outside the van and then just put inside. In addition, the kitchen unit is anchored in the floor and walls and ready another module of our van is finished.
Stove, sink and storage space
Our kitchenette consists of a 3-burner gas stove with oven, the sink, the disposal system and lots of storage space.
Let’s start with the stove. We have installed a stove from Thetford. Our stove has a triple gas burner including an oven, which we think is really great. We allow ourselves so much luxury that we also have the chance to make our own bread or sometimes an oven dish. This makes for welcome variety on the road.
The next important element is our sink. From the beginning, it was important to us to install a sufficiently large and usable sink. The conventional camper sinks are usually very space-saving with their retractable faucet but therefore also very small. For this reason, we decide on a normal sink from IKEA, which can also be installed easily. Also, we take a ordinary faucet, as it is also installed in the regular household. It is important to us that it is extendable and pots on the stove can be filled directly. Normal camper water taps have an electrical switch integrated, in order to control e.g. a submersible pump with it. We can use a normal household water tap because we install an intelligent pressure pump near the water tank. With that there is no need for an electrical signal to the pump when the faucet is turned on. The pump can be left on all the time while living in the van. So, there is always running water available – without an extra thought, as with the faucet at home. That is real travel comfort!
Under the sink we have space for our waste disposal system, the 16l wastewater tank and cleaning utensils. Well, although our house on wheels is very small, it also needs regular house cleaning.
Of course, one of the most important elements of the kitchen is the storage space. We decided to use drawers in our kitchenette, because it gives us the best overview. The drawers we built extra sturdy, accordingly we use normal drawer pulls, as they would be used for housing. We made sure that the pulls were made so that we could open the drawer completely and not have the rearmost third covered by the countertop or the drawer above it.
With this blog post, you’ve gotten another glimpse of our interior design. Without water, the kitchen is not yet completely ready for use but it looks in any case already very good. Soon we will describe the special features of our water system in the van in the next post.









0 Comments